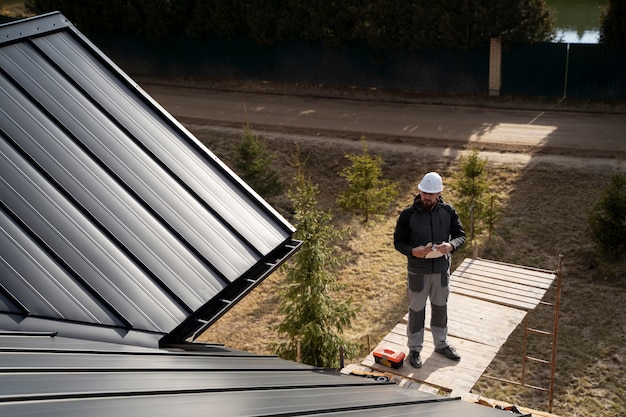
Installing gutter guards is a practical way to protect your home from water damage, especially during the rainy seasons in Mooresville. While hiring professionals can be convenient, a step-by-step DIY approach can be both rewarding and cost-effective. This guide provides a comprehensive walkthrough to help homeowners install gutter guards efficiently, ensuring the longevity and integrity of their homes drainage system.
Why Install Gutter Guards?
Gutter guards serve as a barrier against debris, reducing the frequency of gutter cleaning and preventing blockages that can lead to water damage. Mooresville’s seasonal changes can lead to an accumulation of leaves, twigs, and other debris, making gutter guards a wise investment.
Tools and Materials Needed
Before starting the installation process, gather the necessary tools and materials:
- Ladder (extension ladder recommended for multi-story homes)
- Gutter guards (mesh or screen types are popular choices)
- Measuring tape
- Metal snips or scissors
- Gloves and safety goggles
- Drill and screws (if required by the gutter guard type)
- Sealant (optional, for additional security)
Step-by-Step Installation Guide
1. Prepare and Inspect the Gutters
Start by cleaning your gutters thoroughly. Remove any debris, dirt, and leaves to ensure a clear passage for water flow. Inspect the gutters for any signs of damage or leaks. Addressing these issues before installing the guards is crucial for optimal performance.
For detailed steps on cleaning and inspecting gutters, explore advanced guides and tips.
2. Measure and Cut the Gutter Guards
Use a measuring tape to determine the length of each gutter section. Cut the gutter guards to size using metal snips or scissors, ensuring a snug fit. It’s important to measure accurately to avoid gaps that could allow debris to enter.
3. Install the Gutter Guards
The installation process varies slightly depending on the type of gutter guard:
- Mesh Guards: These are typically placed over the gutter and secured under the roof shingles or along the gutter lip. Ensure the mesh is taut and secure.
- Screen Guards: These can be snapped into place or secured with screws. Position them over the gutter and follow the manufacturer’s instructions for installation.
For a detailed installation process, discover expert strategies here.
4. Secure the Guards
Once all the guards are in place, double-check for any loose sections. Use additional screws or sealant if necessary to ensure that the guards are securely attached. This step is vital for preventing the guards from dislodging during heavy rain or wind.
Post-Installation Maintenance Tips
Even with gutter guards installed, periodic maintenance is crucial to ensure their effectiveness:
- Inspect the guards at least twice a year for any clogs or damages.
- Check for any signs of rust or wear and replace sections as needed.
- Ensure that the guards are still securely attached after severe weather conditions.
For more detailed maintenance advice, find out more about this approach.
Conclusion
Installing gutter guards in Mooresville is a practical step towards safeguarding your home against water damage. By following this step-by-step guide, homeowners can effectively install gutter guards, ensuring a robust and functioning drainage system. For those seeking further assistance or professional services, learn about our tailored solutions to meet your specific needs.